


- We’re all in on your growth. Explore all of our services.
Increase your search presence with our expert SEO services


We create SEO strategies specific to your brand, industry, and audience—no cookie-cutter solutions here.
Our team stays ahead of the curve with the latest tools and strategies to keep your site ranking high.
Focused on results, not just rankings
It’s not just about getting to the first page; it’s about driving the right traffic, engagement, and growth for your business.

Our SEO services begin at $5,000. Use our pricing calculators or inquire now for a custom quote.

I have used a lot of website and SEO companies before and have to honestly say that Rodney and his team are the best by a wide margin! They listen, they act, and are truly connected to the client and their needs.
Couldn’t be happier with Connective Web Design!


Establish or refine your brand’s identity
What’s the point of an SEO-optimized site if your leads X out as soon as they get there, because they don’t connect with your brand? We’ll hone in on your company’s voice, message, and visual identity, aligning each of these elements with your mission and audience to enhance your credibility and help you stand out in the marketplace. Learn more >>

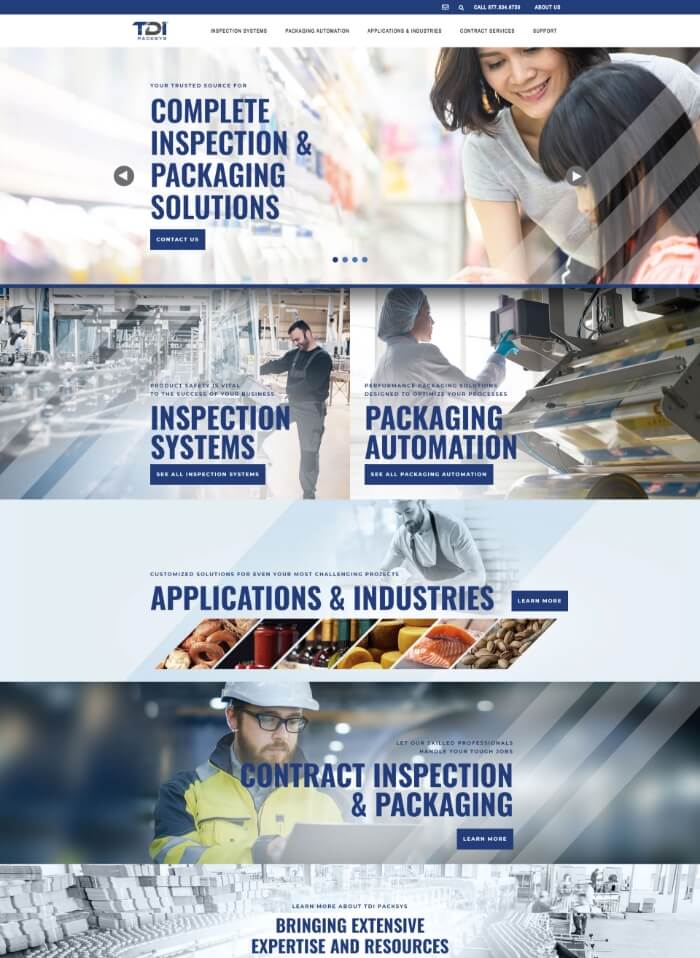
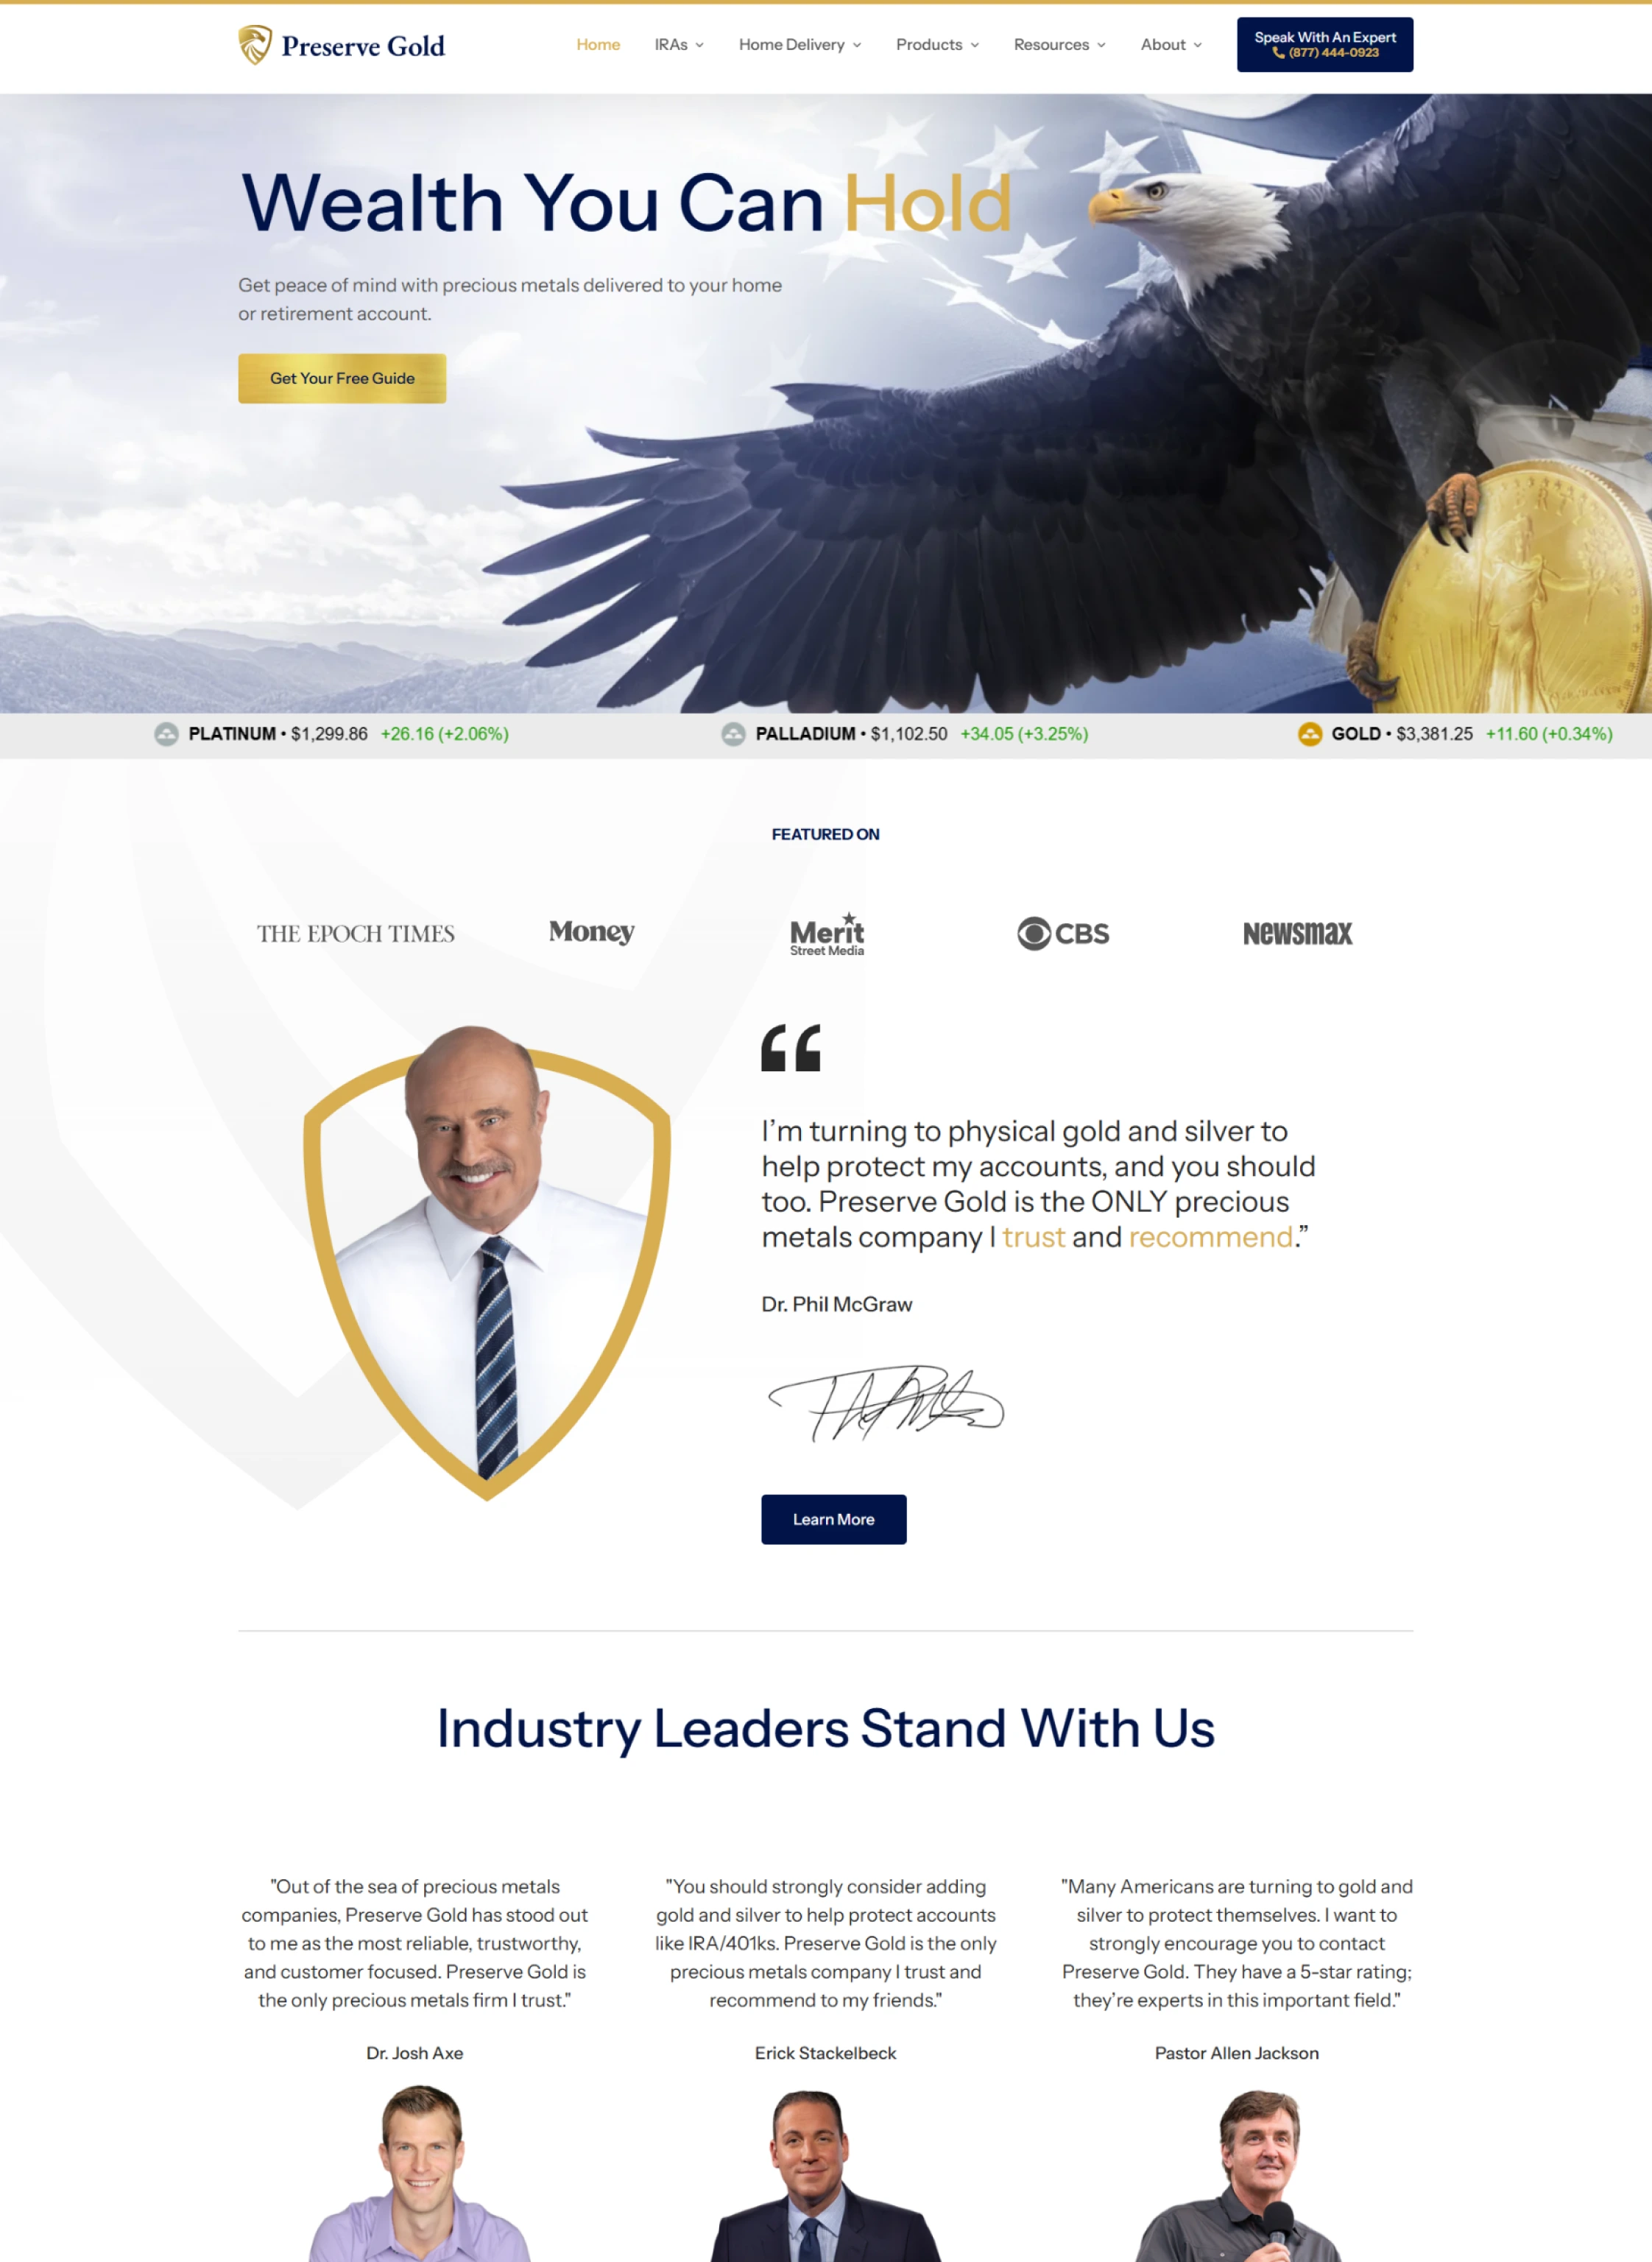
A website crafted just for you, from scratch (and with love)
The best brands have a visually compelling, SEO-backed website that represents their brand and attracts their ideal audience. And we want YOU to be the best you can be. Our web design process is user-focused, resulting in a website that looks like a million bucks (while costing a lot less) and drives growth and engagement. Learn more >>

Generate leads, sales, and brand loyalty
Looking for measurable growth through digital channels? We’re on it! Our data-driven, customer-centric marketing approach doesn’t stop at SEO, but also includes paid advertising, social media, email campaigns, and more. We’ll help you generate leads, sales, and brand loyalty—beyond your website. Learn more >>