-
Development
- Ecommerce
- Web Development
- Responsive Web Design
- Website Security
- Website Updates
- WordPress
-
And more

- We’re all in on your growth. Explore all of our services.
Development
And more

We craft custom WordPress websites that elevate your brand—no bloated templates, no shortcuts. Just stunning design, seamless functionality, and a site that’s as easy to use as it is impressive to look at.


You chose WordPress for its flexibility. But what you got? A clunky backend, theme limitations, and a site that looks like it came out of a box—and not in a good way.
Most WordPress sites suffer from the same problem: too much sameness and not enough strategy. They’re built for convenience, not conversion. For speed, not staying power. You shouldn’t have to settle for a site that’s bloated, generic, or impossible to customize without breaking something.
At Connective, we design and build completely custom WordPress websites—no templates, no shortcuts. Just pixel-perfect design paired with clean, scalable development. Your site will look world-class, feel unmistakably “you,” and perform like a dream.
It’s time for WordPress to live up to its potential—and yours.
WordPress Web Design Services
Our WordPress websites don’t just look better—they work better. We combine design-forward thinking with powerful development to build sites that reflect your brand, engage your audience, and stay flexible as you grow. No templates. No bloat. Just clean, custom code and standout design.
We don’t start with themes—we start with you. Every site is custom-designed to reflect your identity, speak to your audience, and separate you from the sea of sameness.
WordPress is powerful, but only if it’s handled right. We specialize in custom builds using tools like Elementor (when it makes sense) and advanced development when it doesn’t.
Fast load times, clean code, SEO fundamentals, and mobile responsiveness—baked into every build so your site isn’t just beautiful, it’s business-ready.
Our custom WordPress websites start around $10,000, depending on your scope, goals, and complexity. Use our price calculator or inquire about a custom quote.

Explore a few of our recent WordPress projects—each custom-designed to reflect our client’s brand, strategy, and goals.
From law firms and nonprofits to ecommerce shops and service businesses, we’ve used WordPress to build sleek, high-performing sites across a wide range of industries. No bloated themes. No copy-paste templates. Just clean code and sharp design that delivers.


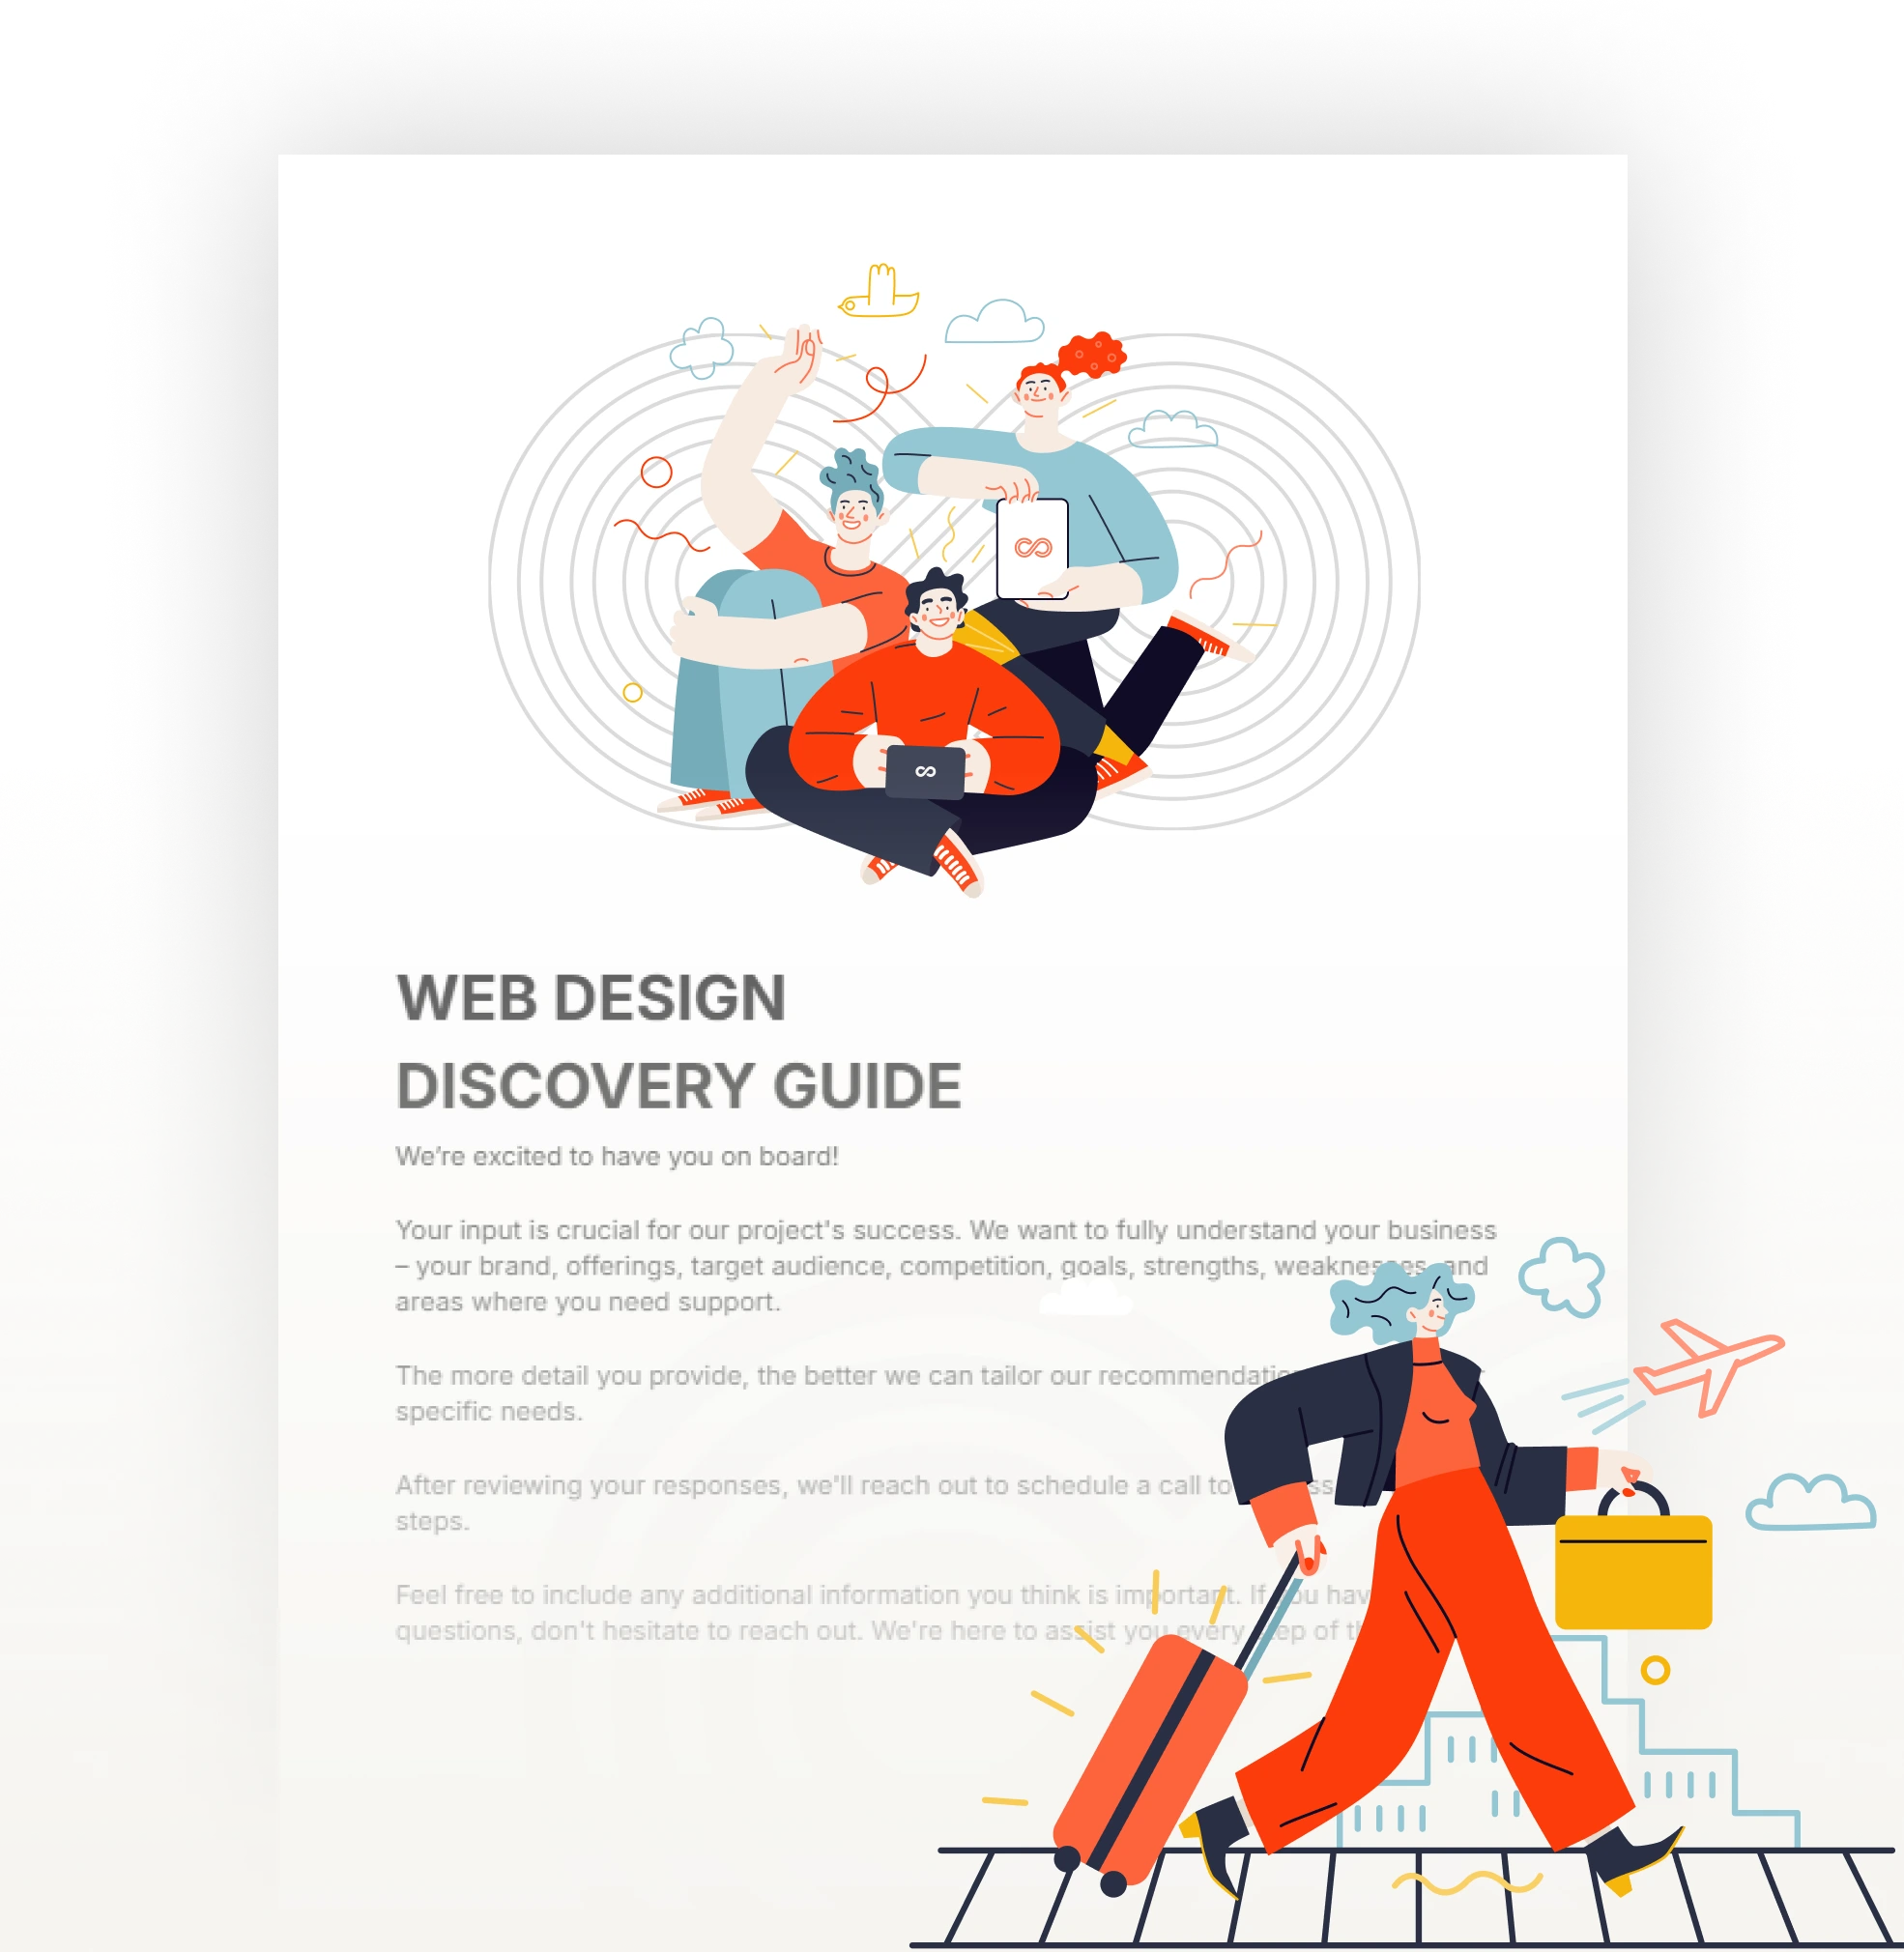
We kick things off with a simple, strategic onboarding. You’ll meet your team, get access to your project dashboard, and complete a Discovery Guide so we can understand your goals, audience, and visual preferences—setting the stage for a smooth build.
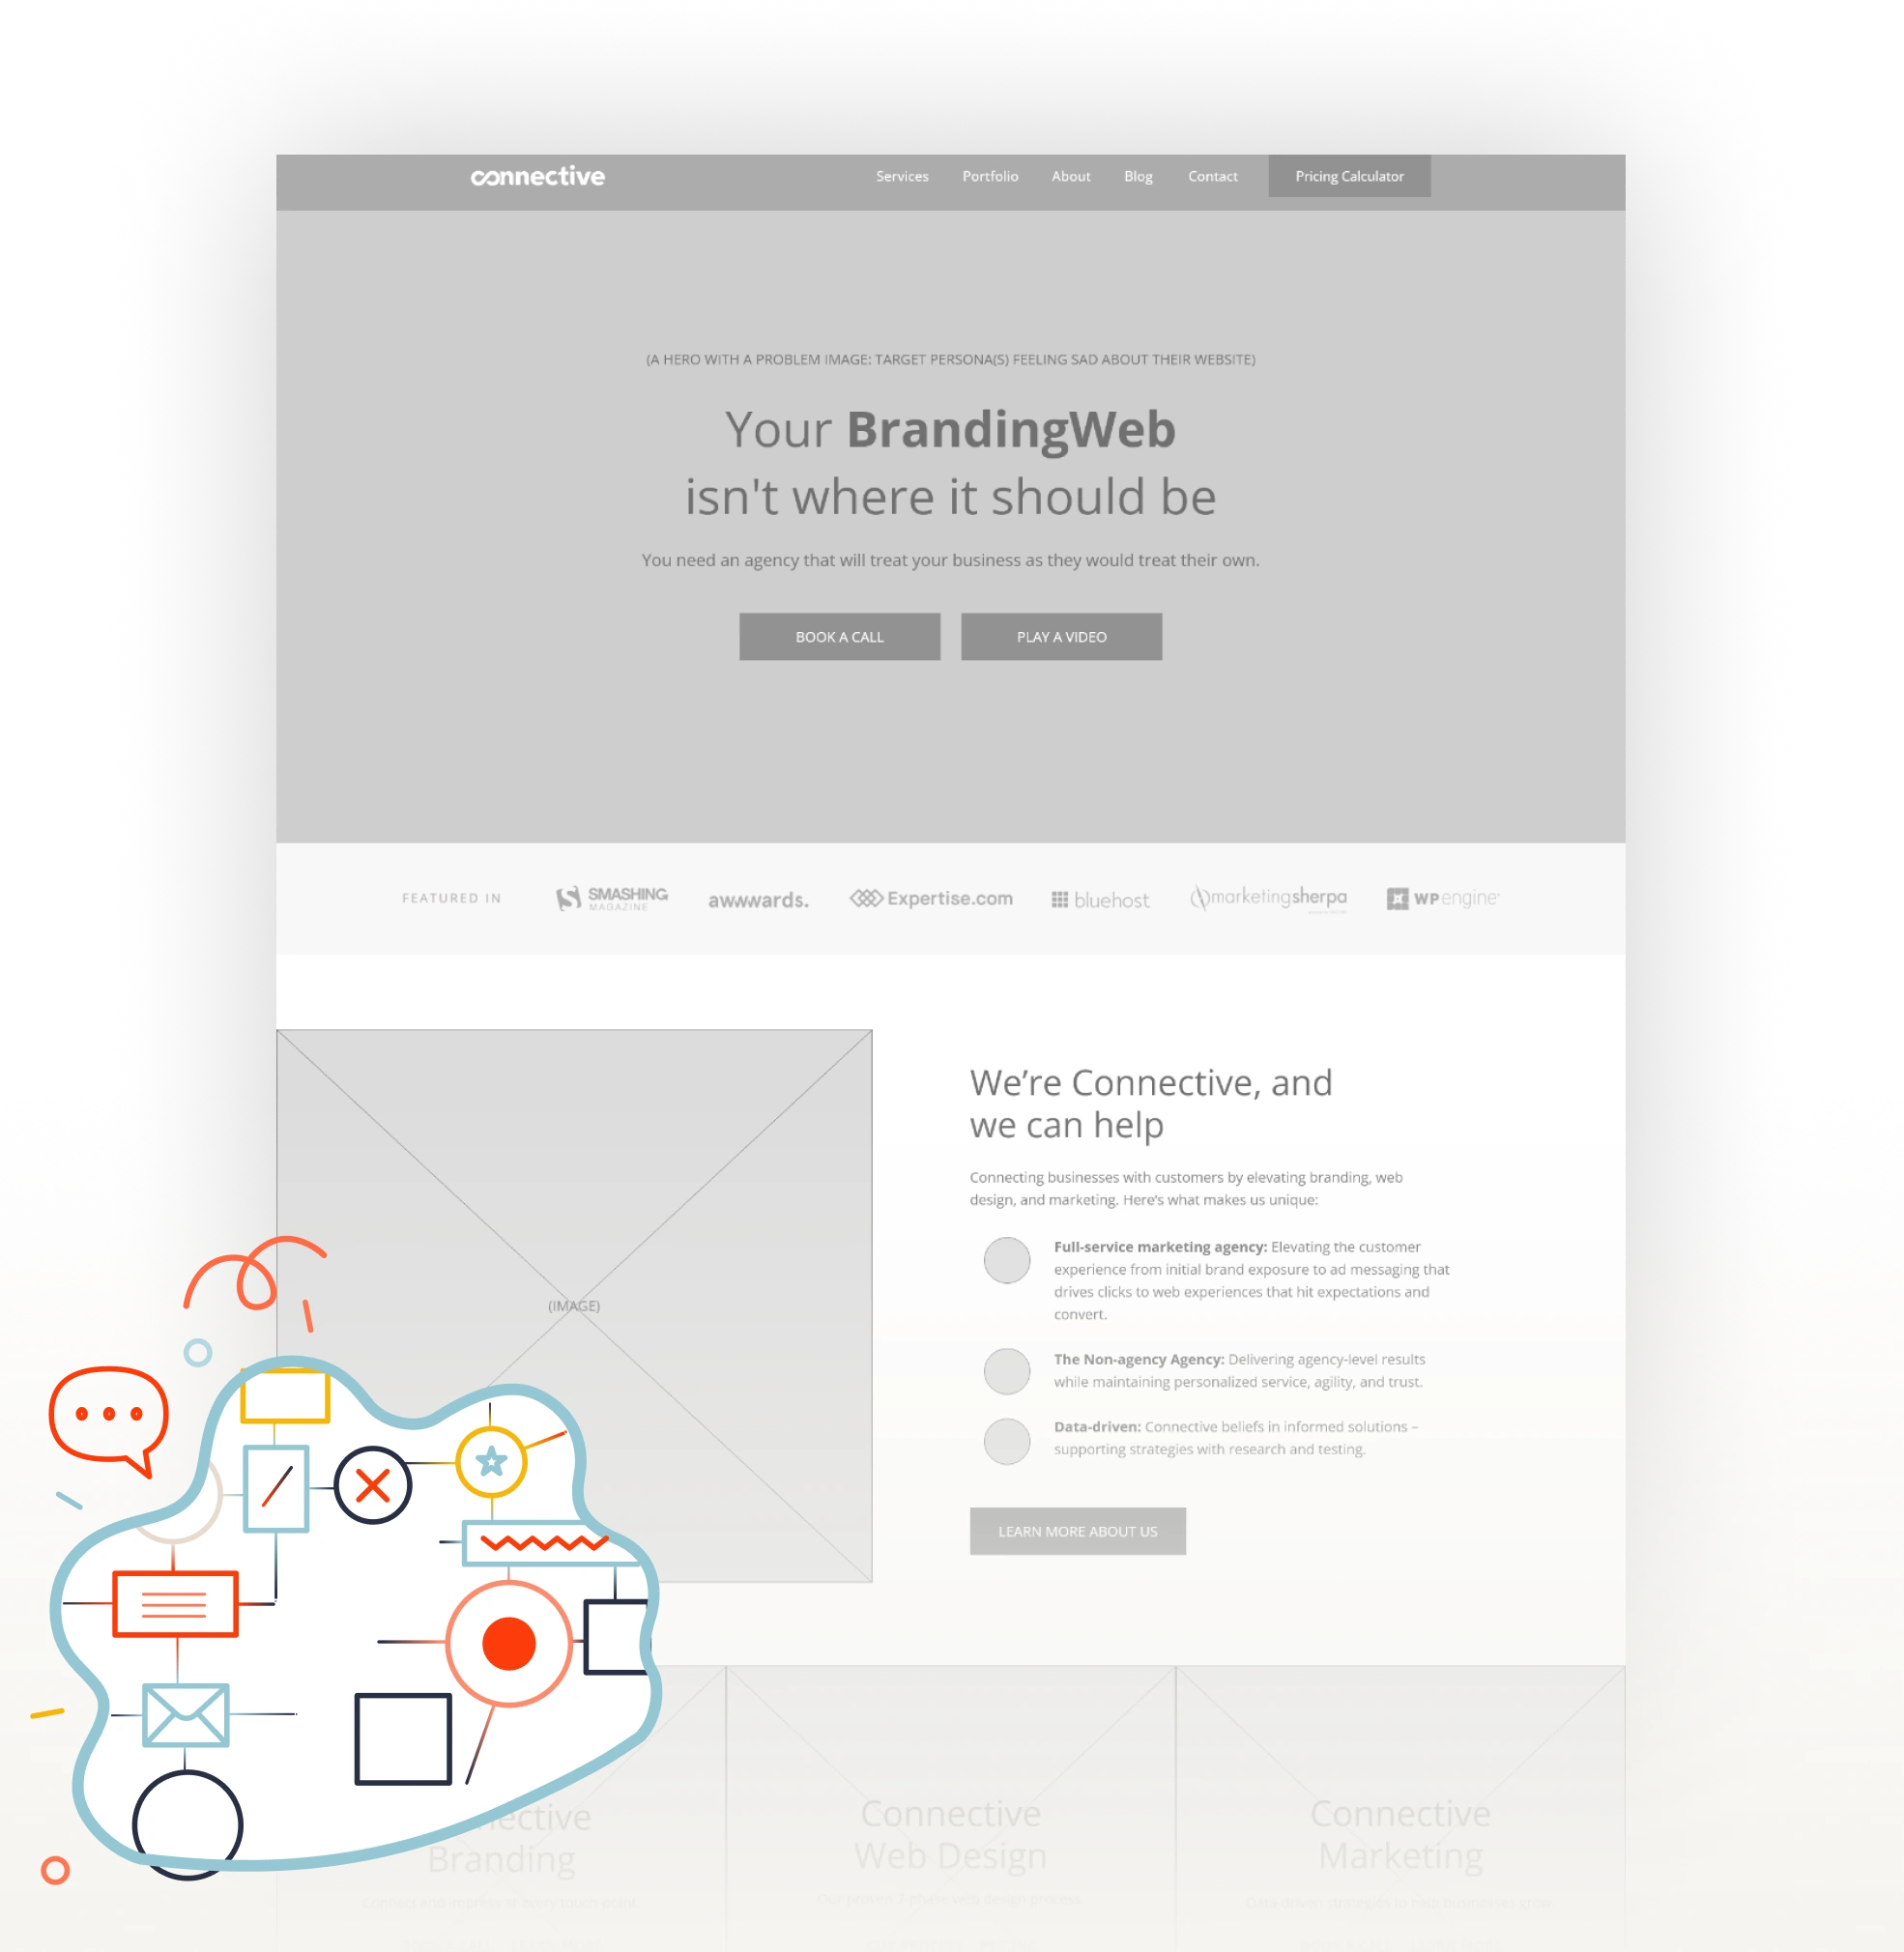
We map out your site’s structure—sitemap, page hierarchy, and wireframes that define layout and functionality. This ensures your site flows logically, reflects your priorities, and sets a strong foundation for design.
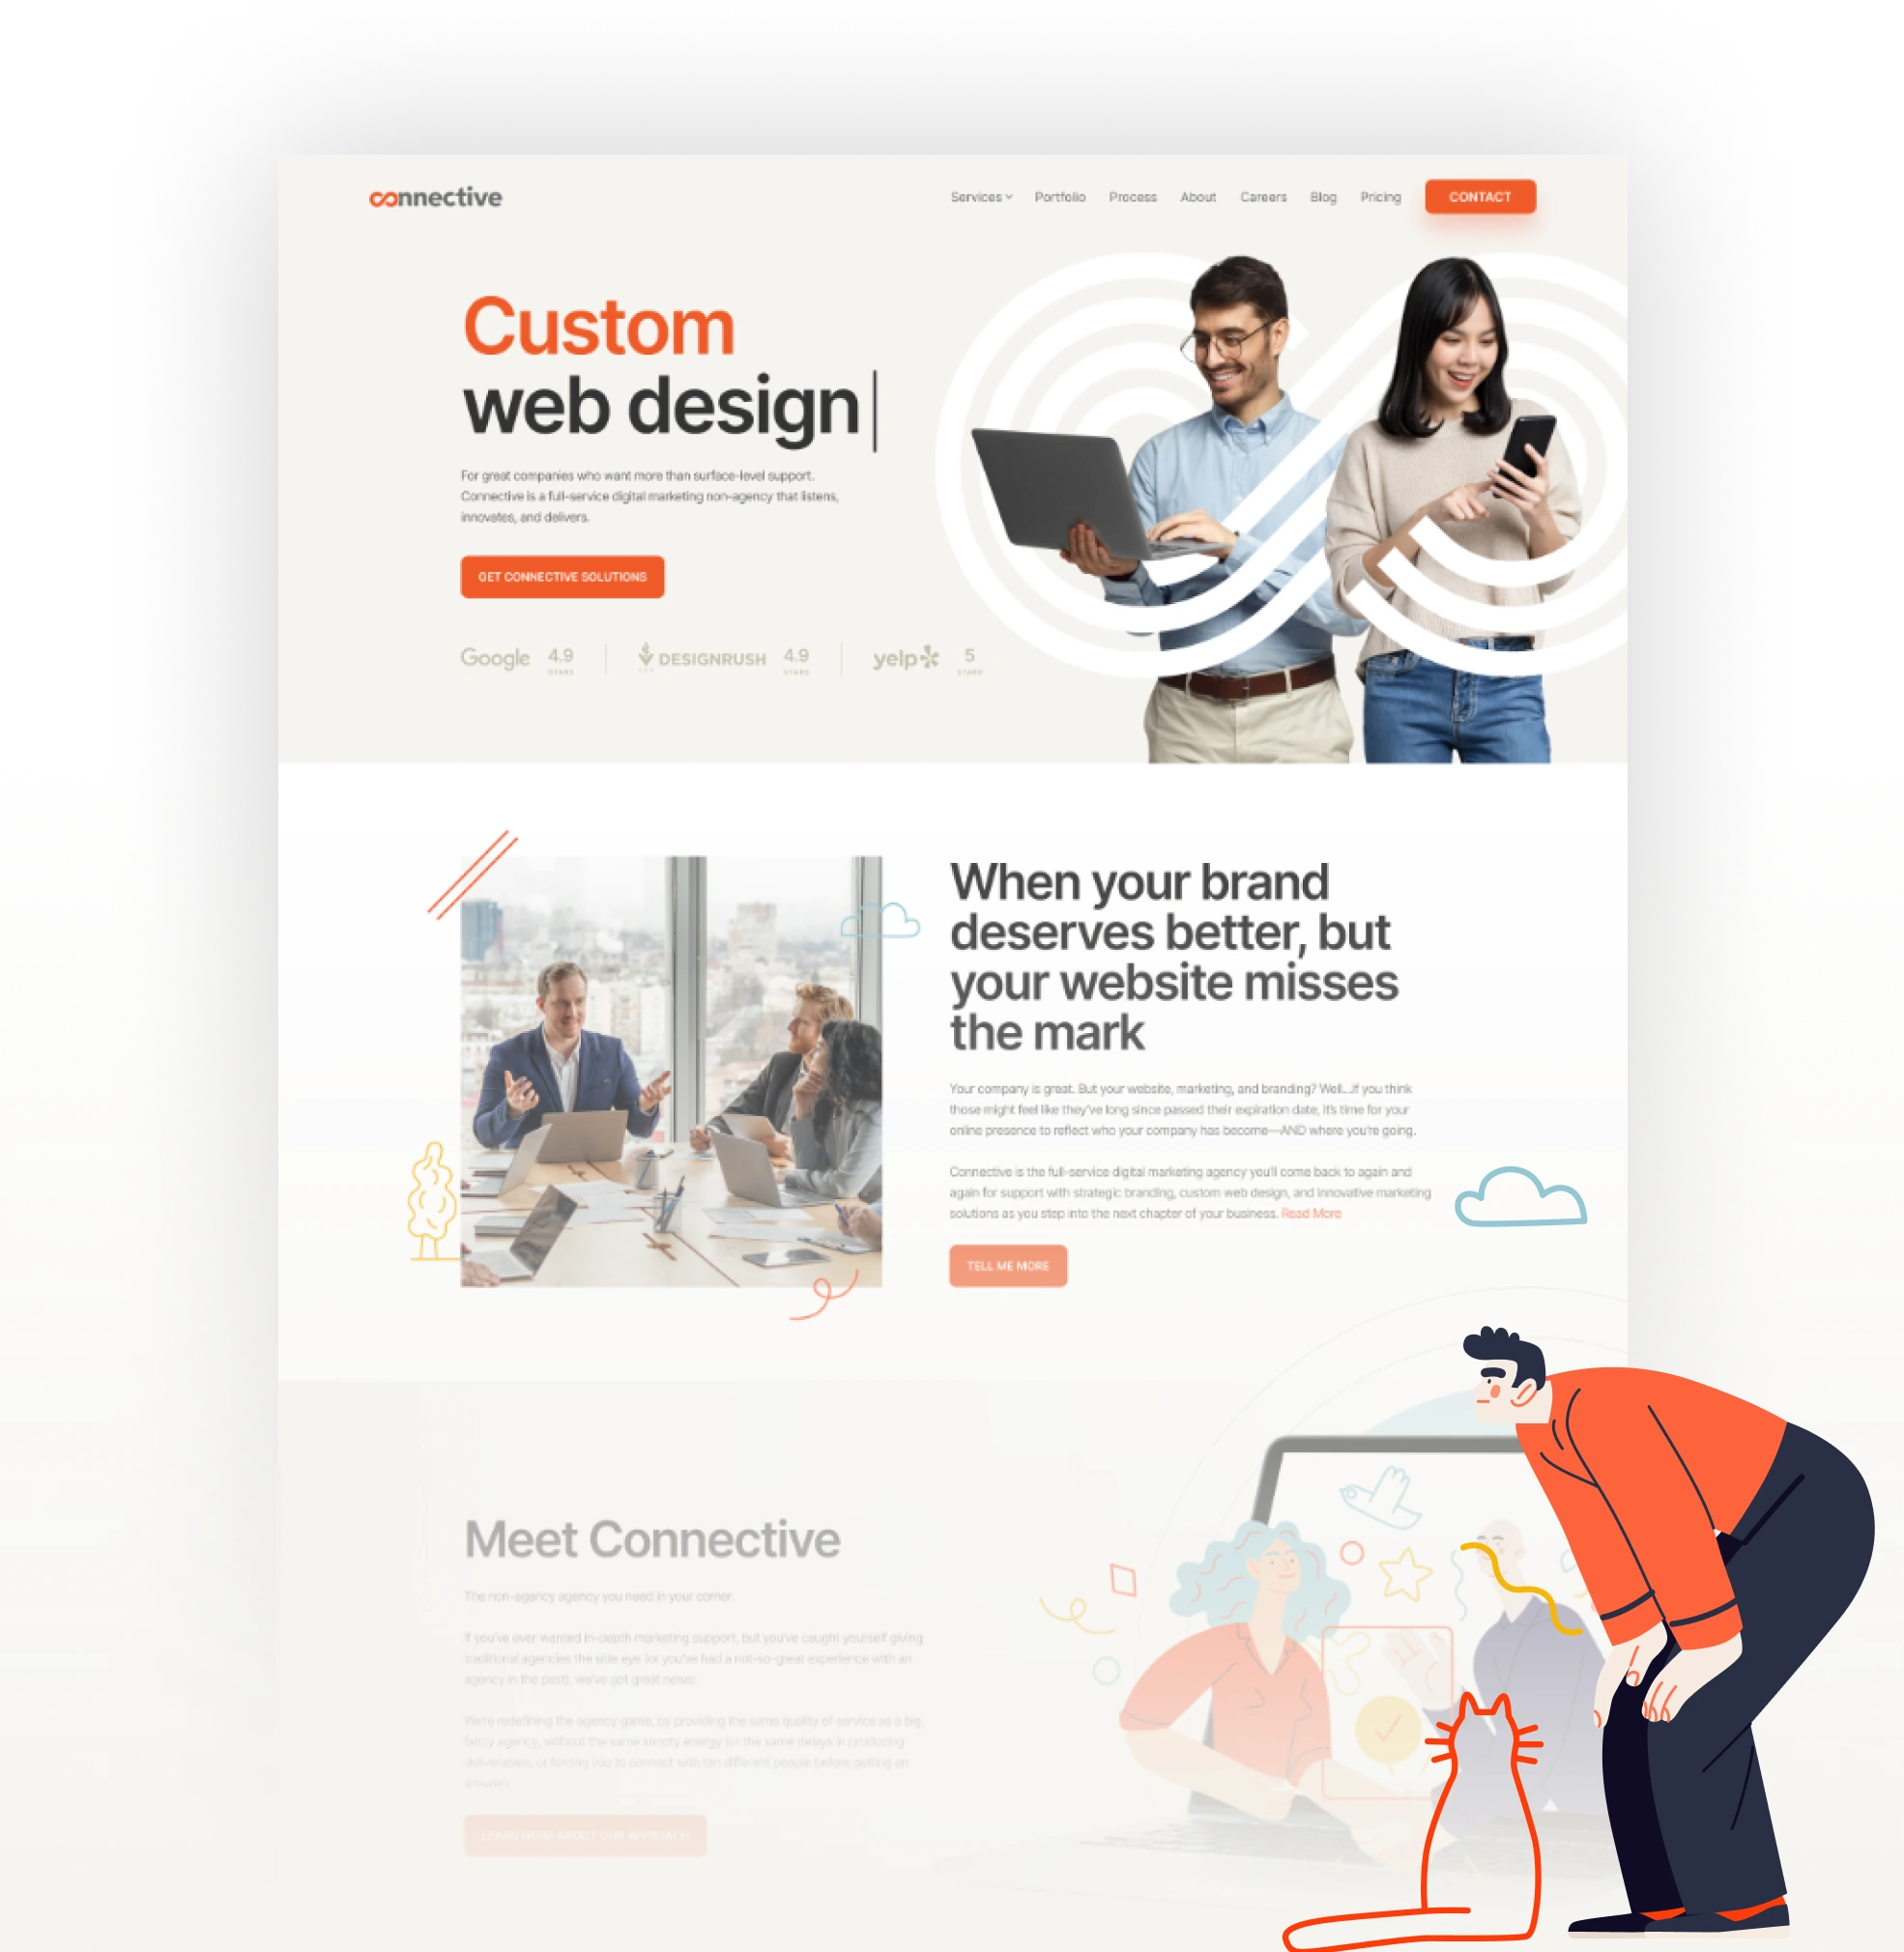
Our design team creates high-fidelity mockups for key pages across desktop and mobile. We blend visual storytelling with conversion-focused UX to craft a site that’s both beautiful and strategic. You’ll review and approve before we build.
We bring the designs to life—custom-coded (no templates!) on WordPress using either Elementor or Gutenberg. From subtle animations to advanced integrations, we make sure everything works flawlessly across devices and browsers.
Before launch, your site goes through a rigorous QA process: mobile responsiveness, page speed, browser testing, SEO implementation, and accessibility checks. Once we’ve checked every box—and you give the final signoff—we’re ready to launch.
It’s go time. We launch your site and provide hands-on training so you can confidently manage it yourself. Whether it’s updating content or handling plugins, you’ll feel empowered and supported.
Need help post-launch? We’ve got your back. From regular updates and backups to performance tuning and feature add-ons, our maintenance services keep your WordPress site secure, smooth, and ready for whatever’s next.

We don’t rely on pre-built themes or bloated page builders. Every WordPress site we design is fully custom—from structure and design to functionality and performance—built to reflect your brand and meet your business goals
Absolutely. We build our sites with usability in mind. After launch, we train you on how to manage your pages, swap out content, and make updates—all without touching code.
That’s our default. Every site we build is optimized for speed, mobile responsiveness, and SEO best practices—from clean code and smart architecture to performance tools like caching and image optimization.
Yes. We can migrate your current website—whether it’s on Squarespace, Wix, or a clunky old CMS—into a brand-new, custom WordPress site that looks better, loads faster, and works the way you need it to.
Custom WordPress web design starts around $10,000 and scales based on complexity. We’ll scope everything out, provide a detailed estimate, and work with you to maximize your investment.
We’re small by design, which means more attention, less red tape, and faster turnaround. You won’t be passed between project managers or stuck in an endless feedback loop—we’re efficient, responsive, and committed to building the right thing, the right way.
Yes, and we’re fluent in both. We typically use Elementor for more design-forward builds and Gutenberg for leaner, performance-focused sites. Not sure what’s right for you? We’ll help you decide during onboarding.
It can be—with the right setup. We follow best practices, use vetted plugins, implement SSL, and keep everything updated to ensure your site is secure, stable, and protected from vulnerabilities.
Timelines vary depending on scope, but most custom WordPress builds take 3–5 months from kickoff to launch. You’ll get a detailed timeline up front—and regular updates throughout.
We do! We offer flexible maintenance plans to keep your site running smoothly post-launch. Need regular updates, performance checks, or feature add-ons? We’ve got you covered.
Let’s talk. From advanced integrations to custom post types and functionality, we can build pretty much anything you need on WordPress—and if it’s not the right tool for the job, we’ll tell you that, too.
Make sure your website matches the rest of your brand
Your WordPress site is only part of the picture. We can help you shape your brand’s voice, visuals, and messaging—so everything feels cohesive, intentional, and unmistakably you. Learn more >>
Turn your website into a traffic magnet
From SEO and paid ads to email and social, our digital marketing services are built to work with your WordPress site—not just drive traffic, but convert it. Smart strategy. Real results. Learn more >>
We’re here long after your site goes live
From content updates and marketing support to performance tuning and analytics—we offer flexible support plans to help your WordPress site grow with you. Learn more >>
No more cookie-cutter templates. No more patchwork plugins. No more wasting time trying to DIY.
When you partner with Connective, you get a custom-designed WordPress website—built for your brand, optimized for performance, and easy to manage. Whether you’re starting from scratch or ready for a refresh, we’re here to help you do it right.
Let’s take “fix the WordPress site” off your to-do list—for good.
Let’s Talk WordPress